
Introduction to Garlic Breadsticks Recipe
Why Homemade Garlic Breadsticks Are a Game Changer
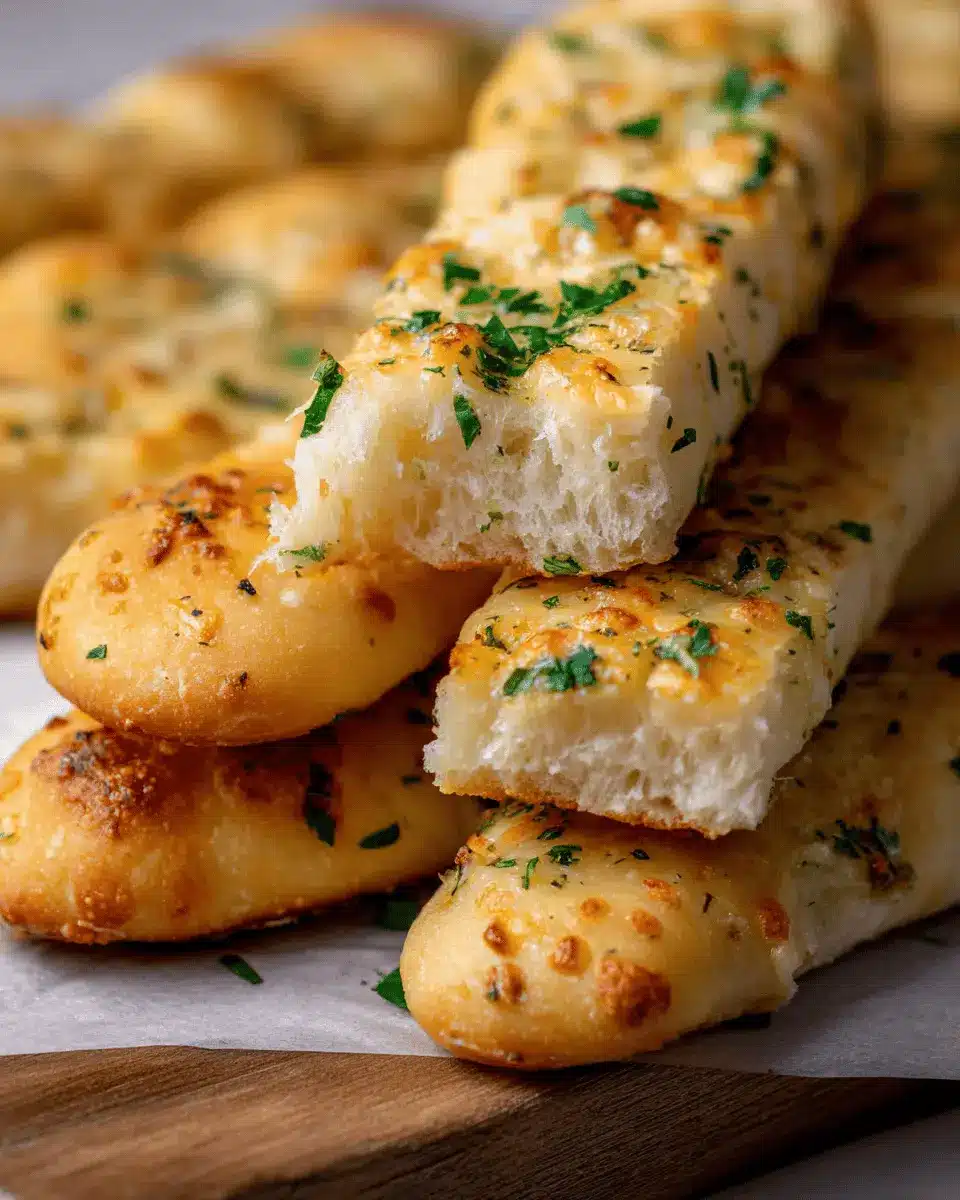
When it comes to comfort food, nothing beats the aroma of fresh garlic breadsticks wafting through your kitchen. If you’ve only ever had store-bought options, prepare to be amazed! Making your own garlic breadsticks not only allows for customization but also brings a warm, homemade touch to any meal. Plus, they are the perfect side for pasta dishes or soups, making them incredibly versatile.
Nothing beats that first bite of a soft, fluffy breadstick with a crispy crust, generously slathered with buttery garlic goodness. Did you know that homemade breadsticks can be healthier than the store-bought alternatives? You control the ingredients—perfect for accommodating dietary restrictions or personal preferences.
Using my savory garlic breadsticks recipe, you can serve up 24 delicious pieces in just 25 minutes. Think about the joy of gathering friends for a cozy dinner, paired with these delightful breadsticks that you whipped up yourself. Ready to impress? Let’s dive into the world of homemade garlic breadsticks and elevate your dining experience!
For tips on perfecting bread, you might find King Arthur Baking resourceful.
Ingredients for Garlic Breadsticks
The Dough
For the perfect base of your garlic breadsticks recipe, you'll need a few key ingredients that work in harmony to create that soft, fluffy texture. Here’s what you’ll require:
- 5 cups all-purpose flour: This forms the backbone of your dough. Feel free to add a little more if needed to achieve the right consistency.
- 1.5 teaspoon instant yeast: It’s essential for making your breadsticks rise and become airy.
- 1.5 teaspoon fine sea salt: This enhances the flavor of your breadsticks and balances the sweetness of the dough.
- 2.25 cups warm water: Ensures your yeast activates properly, so you get that perfect rise.
Garlic Butter
Now, let’s make the delicious garlic butter that will take your breadsticks to the next level. It’s all about that rich flavor:
- ½ cup salted dairy-free butter, softened: This is the creamy base that makes the garlic butter luscious.
- 4-5 garlic cloves, grated or minced: Fresh garlic brings a punch of flavor that’s hard to resist.
- ½ tablespoon Italian parsley, minced: For a fresh, herby touch.
- 1 pinch dry oregano: This is optional, but it adds a nice aromatic profile to your butter blend.
By gathering these ingredients, you're setting yourself up for garlic breadsticks that are not only delicious but also easy to make. Enjoy each buttery bite!
Preparing Garlic Breadsticks
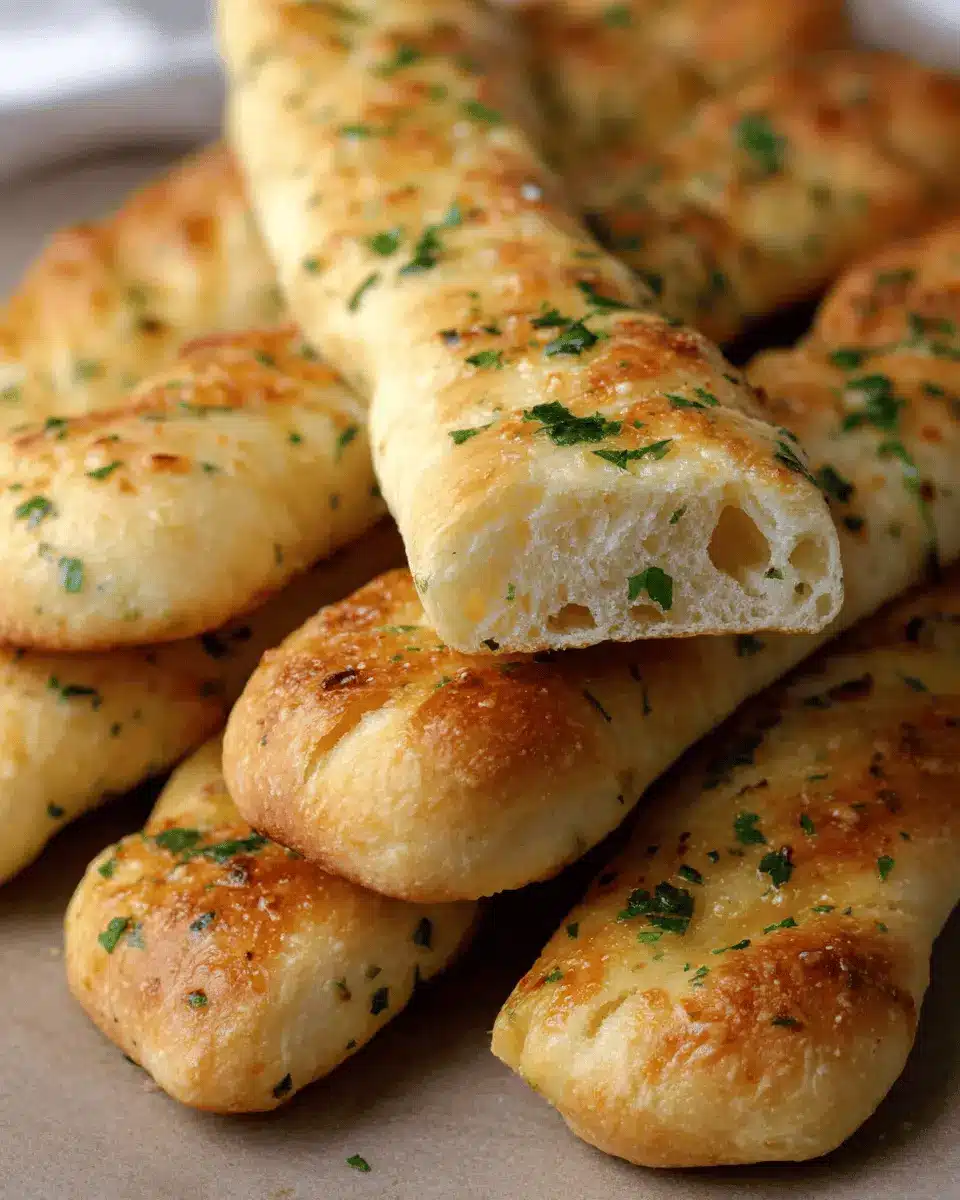
Making garlic breadsticks is not just a cooking task; it’s an experience that brings the comforting aromas of Italy right into your kitchen. These soft, fluffy delights, with their perfectly crisp crust and heavenly garlic butter topping, are perfect for pairing with soups or pasta dishes. Let’s walk through the process step-by-step to ensure maximum flavor and enjoyment.
Combine the Dry Ingredients
Start by gathering your dry ingredients in the bowl of your stand mixer or a large mixing bowl. You'll need:
- 5 cups all-purpose flour
- 1.5 teaspoons instant yeast
- 1.5 teaspoons fine sea salt
Mix these together thoroughly to ensure an even distribution of the yeast and salt throughout the flour. This initial combination is crucial for the consistency of your garlic breadsticks recipe.
Mix and Knead the Dough
Once your dry ingredients are ready, it's time to introduce the liquid. Pour in 2.25 cups of warm water while mixing. If you're using a stand mixer, switch to the dough hook and knead on low speed for about 10 minutes. Remember, if the dough feels too sticky, feel free to sprinkle in some additional flour—just do it a little at a time.
If you prefer, you can absolutely use a food processor for this step. The goal is to achieve a dough that sticks a bit to the bottom of the bowl but not to the sides.
Shape the Breadsticks
After kneading, transfer your dough onto a floured surface and divide it. Using a sharp knife, cut it into 24 equal pieces. Roll each piece into a long, thin rope approximately 7 inches in length. Place these dough ropes on a large parchment-lined baking sheet, ensuring they have enough space between each, as they’ll rise.
Let the Dough Rise
Cover the breadsticks with a lint-free kitchen towel and place them in a draft-free area. This is where the magic happens! Let them rise for a couple of hours or until they double in size. For a cozy environment, you can preheat your oven to 200°F and then turn it off; this creates a warm spot just perfect for rising.
Prepare the Garlic Butter
Meanwhile, let’s whip up that unbeatable garlic butter! In a bowl, combine:
- ½ cup softened salted dairy-free butter
- 4-5 cloves of minced garlic
- ½ tablespoon minced Italian parsley
- A pinch of dried oregano (this is optional but adds a nice touch!)
Mix until creamy and spreadable.
Bake the Garlic Breadsticks
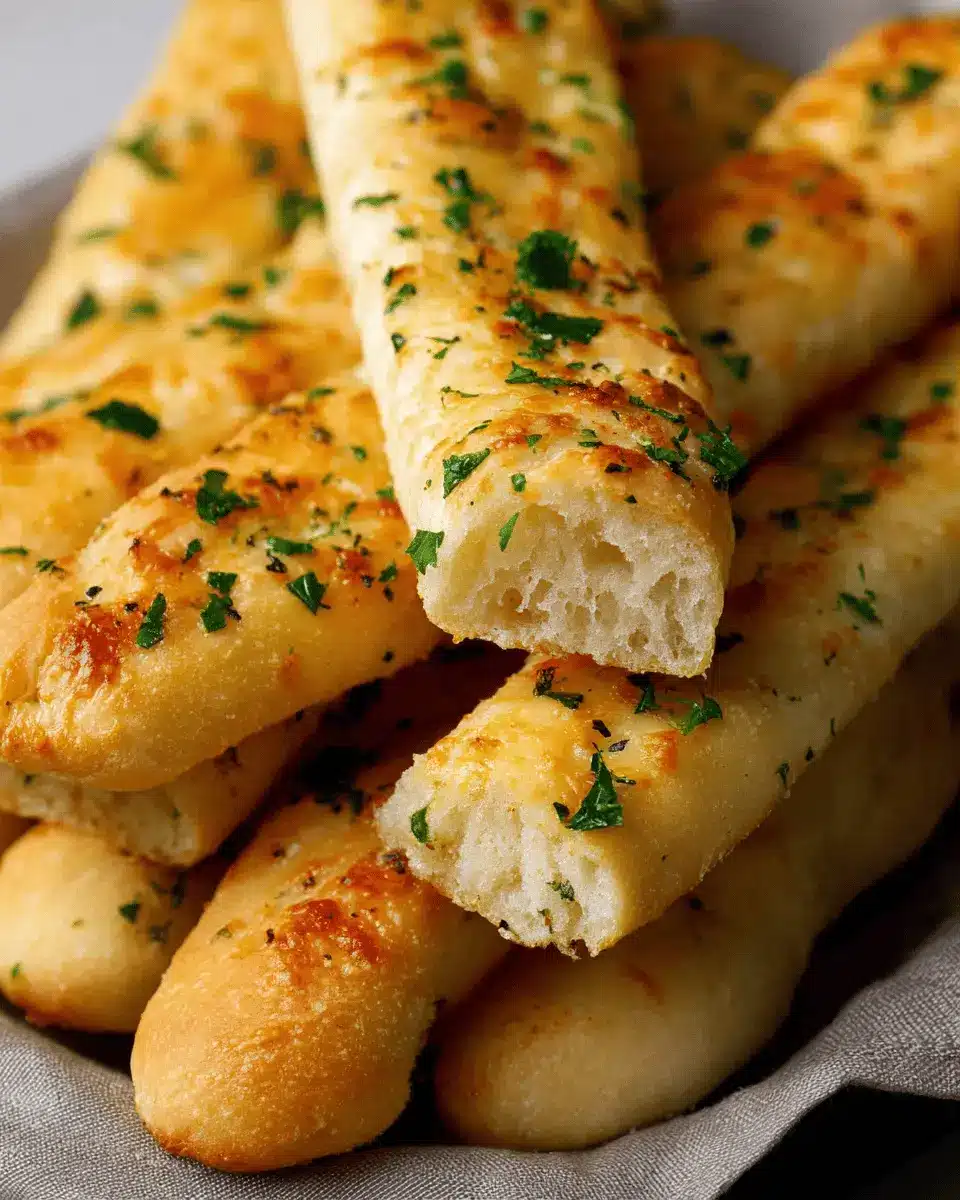
Now that your breadsticks have risen beautifully, preheat your oven to 400°F. Just before they hit the oven, smear a thin layer of that garlicky goodness over each stick, and sprinkle with sea salt flakes for that extra flavor boost. Bake for about 10 to 12 minutes, or until they’re lightly golden.
As soon as they’re out of the oven, slather on any remaining garlic butter for that delectable finish. Serve warm and watch them disappear!
These garlic breadsticks are a fantastic addition to any meal or simply enjoyed on their own. For more delicious recipes, check out sites like The Kitchn or Serious Eats for inspiration.
Variations on Garlic Breadsticks
Cheese Stuffed Garlic Breadsticks
Elevate your garlic breadsticks recipe by adding a gooey surprise inside! Simply take your rolled dough and place a small piece of your favorite cheese—think mozzarella or cheddar—at the center of each breadstick before sealing it up. This creates a delightful, melty core that pairs perfectly with your garlicky butter topping. Now you have a delicious twist that’s sure to impress your friends during game night or at dinner parties!
Herb-Infused Garlic Breadsticks
For a fresh twist on traditional flavors, try herb-infused garlic breadsticks. Mix finely chopped fresh herbs—like rosemary, thyme, or basil—into your garlic butter before coating your breadsticks. The aromatic herbs not only enhance the taste but also give your garlic breadsticks a visually appealing touch. It’s a great way to experiment with flavor profiles and can even make your kitchen smell divine!
For more variations and inspiration, don’t forget to check out other delicious recipes on Food Network or BBC Good Food.
Cooking tips and notes for Garlic Breadsticks
Storing leftover breadsticks
To keep your garlic breadsticks fresh, wrap them in parchment paper and store them in a plastic bag on the kitchen counter. Enjoy them within a day for the best flavor! If you have any left, you can revive them by popping them in the toaster oven for a couple of minutes. Even if they get a bit stale, they can be delightful when torn up and added to a bowl of soup like Ribollita.
Make-ahead and freezing tips
Planning ahead? You can shape the breadsticks and refrigerate or freeze them for later use. Freeze them on a cookie sheet until solid, then wrap in parchment and place in a freezer bag. When you’re ready to bake, let them reach room temperature and rise for a couple of hours before following the garlic breadsticks recipe instructions for baking. This is a great way to have fresh breadsticks whenever you crave them!
Serving suggestions for Garlic Breadsticks
Pairing garlic breadsticks with soups and salads
Garlic breadsticks are a delicious accompaniment to any meal! Serve them with a steaming bowl of tomato basil soup or a fresh garden salad for a delightful contrast. The richness of your garlic butter pairs perfectly with the lightness of vinaigrette-dressed greens. For a cozy evening, how about a hearty minestrone soup? The warm flavors will embrace the soft, garlicky texture of these breadsticks beautifully. Don’t forget to check out this Soup and Salad beginner’s guide for some extra inspiration!
Enjoying garlic breadsticks as a snack
Who says garlic breadsticks are only for dinner? These fluffy treats make for a wonderful snack at any time of day! Enjoy them warm on their own, or dip them in marinara sauce for a savory twist. You can even pair them with cream cheese and herbs for an easy appetizer. When you need a quick pick-me-up, these are perfect alongside a steaming cup of herbal tea or your favorite flavored coffee. So go ahead, make that garlic breadsticks recipe your go-to snack!
Time Breakdown for Garlic Breadsticks
Preparation Time
In just 15 minutes, you can prepare the dough for these delicious garlic breadsticks. Getting the ingredients ready and mixing them together is a quick and enjoyable process!
Cooking Time
The baking phase is equally swift, taking only 10-12 minutes. You'll be greeted with the irresistible aroma of freshly baked garlic breadsticks in no time!
Total Time
All in all, you’re looking at a total time of approximately 25 minutes (excluding rising time). Perfect for a quick side dish or snack, these garlic breadsticks fit seamlessly into your busy lifestyle.
For more inspiration on tasty sides, consider exploring options at Food Network or Serious Eats.
Nutritional Facts for Garlic Breadsticks
If you're considering making this garlic breadsticks recipe, it's helpful to know the nutritional breakdown. Each breadstick is a delightful treat with the following key facts:
Calories:
Each serving contains approximately 130 calories, making them a satisfying yet indulgent choice for your meal.
Carbohydrates:
With around 20 grams of carbohydrates per breadstick, they provide a quick source of energy, perfect for pairing with your favorite pasta or salad.
Protein:
You’ll get 3 grams of protein from each stick, a nice boost to complement the fluffy goodness of these delicious breadsticks.
For more insights into the nutritional benefits of garlic, check out this health guide on garlic. And remember, while these breadsticks are a fantastic side, balancing them with veggies or a protein-rich main can create a well-rounded meal!
FAQs about Garlic Breadsticks
Can I make these breadsticks gluten-free?
Absolutely! To whip up a gluten-free version of this garlic breadsticks recipe, simply use a good-quality gluten-free all-purpose flour blend. Ensure that it contains xanthan gum, which is crucial for mimicking the elasticity of traditional wheat flour. Keep in mind that the texture might differ slightly, but they will still be delicious!
What can I substitute for garlic butter?
If you’d prefer not to use traditional garlic butter, try using olive oil infused with garlic for a lighter option. You can create the same savory flavor by mixing chopped garlic into any plant-based or regular butter alternative. Another fantastic substitute is garlic olive oil, which can be brushed over the breadsticks before and after baking for an easy yet flavorful twist.
How long do breadsticks last?
When stored properly, your garlic breadsticks can last about 2 days at room temperature. Just wrap them in parchment paper and place them in a plastic bag to maintain their freshness. If you want to keep them longer, consider freezing them! Simply bake, cool, and then freeze. When you're ready, reheat in the oven for crispy perfection. For more storage tips, check out this helpful guide on food preservation.
Conclusion on Garlic Breadsticks Recipe
In summary, this garlic breadsticks recipe is an easy and delightful addition to your dining experience. With soft, fluffy textures and a delicious garlicky flavor, these breadsticks will surely impress your family and friends. Try making them for your next gathering and enjoy the compliments!
Garlic Breadsticks Recipe
Equipment
- kitchen aid stand mixer
- paddle attachment
- dough hook
- sharp serrated bread knife
- baking sheet
- parchment paper
- Tea Towel
Ingredients
The Dough
- 5 cups all purpose flour + more as needed
- 1.5 teaspoon instant yeast
- 1.5 teaspoon fine sea salt
- 2.25 cups warm water
Garlic Butter
- ½ cup salted dairy-free butter softened
- 4-5 cloves garlic (grated or minced)
- ½ tablespoon Italian parsley minced (+ more for garnish)
- 1 pinch dry oregano optional
Instructions
Preparation
- In the bowl of your kitchen aid stand mixer fitted with the paddle attachment combine the flour, yeast and salt. Start pouring in the water and continue mixing until a dough is formed.
- Switch to the dough hook and knead on low speed (2 or 3) for 10 minutes. If the dough seems too sticky sprinkle in a tablespoon of flour as needed.
- Transfer the dough to a working surface sprinkled with flour.
- Using a sharp serrated bread knife cut the dough in half then cut each half into 12 equal pieces.
- Roll each piece of dough between your hands into 7 inch ropes. Place them on a large parchment lined baking sheet without touching each other.
- Cover the breadsticks with a lint free tea towel and place in a draft free area to let them rise for a couple of hours or until doubled in size.
- Combine the garlic butter ingredients until creamy. Just before baking use a bread knife and smear a thin layer over each breadstick. Sprinkle with sea salt flakes.
- Preheat oven to 400°F. Bake the breadsticks for about 10 to 12 minutes until lightly golden.
- Transfer the tray to a cooling rack and while still hot smear the remaining soft butter all over the top.
Leave a Reply